Harry,My experience, yours may vary:
You can be as creative as you want to be with the editing software, but the following basic things will improve anyone's images:
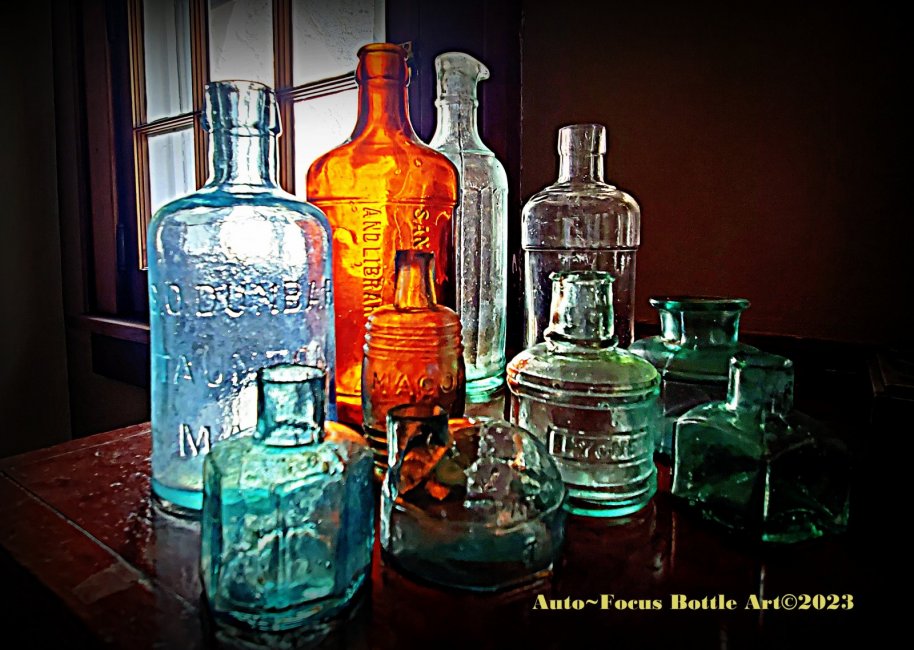
GROUP IMAGES of more than two or three bottles are not effective. The more individual bottles in an image, the greater the amount of shelf is in the image. Viewers cannot see the details of a bottle that might take up less than five percent of the total image. Photograph a single bottle (or two or three), and post that image.
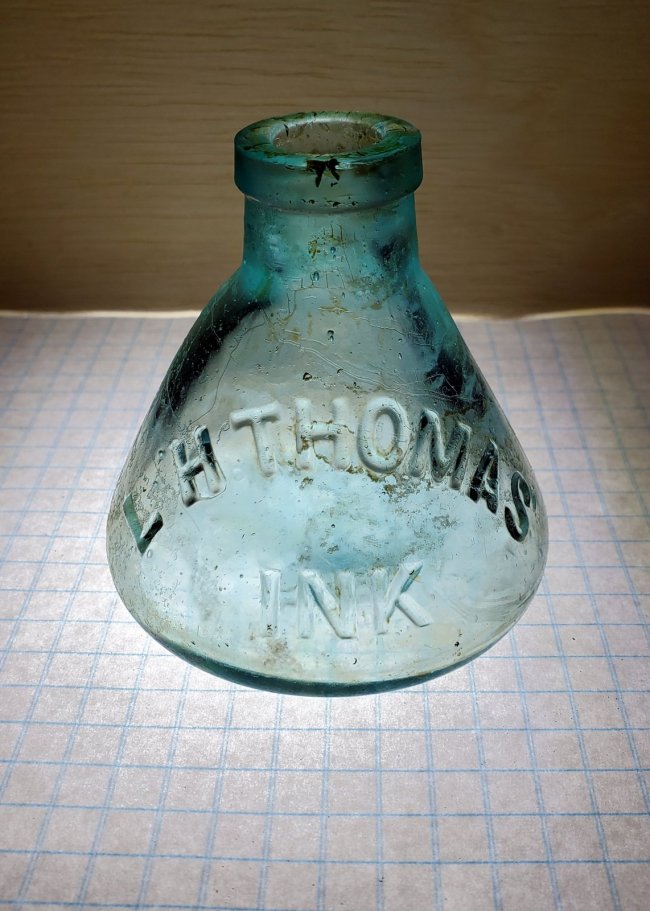
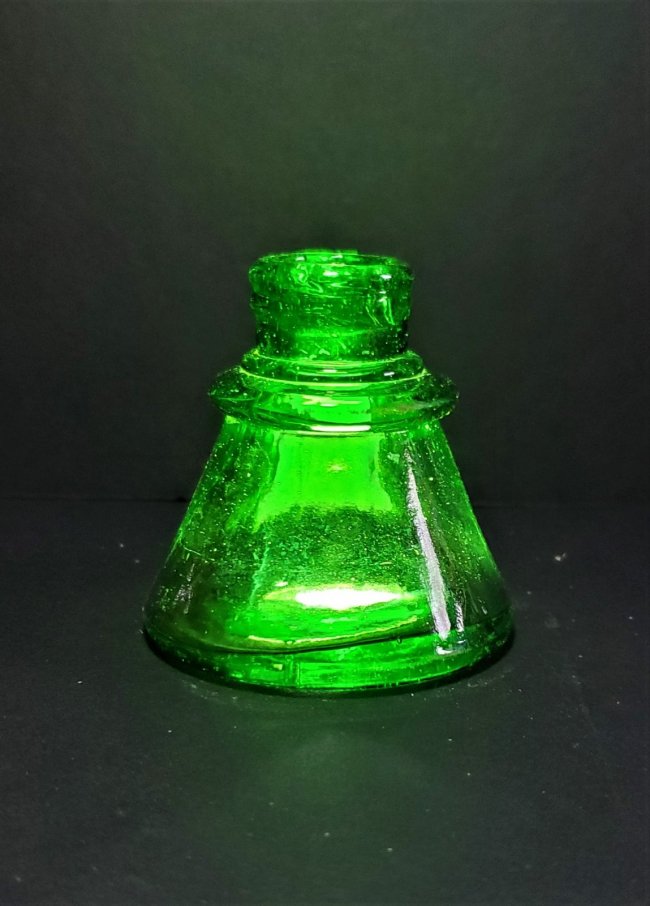
COLORLESS/AQUA bottles are best photographed back-lit by a diffused light source. Hold the camera 4 - 6 feet from the bottle, best on a tripod. Adjust brightness and contrast, then crop the image. Hemihampton appears to have mastered this challenge.
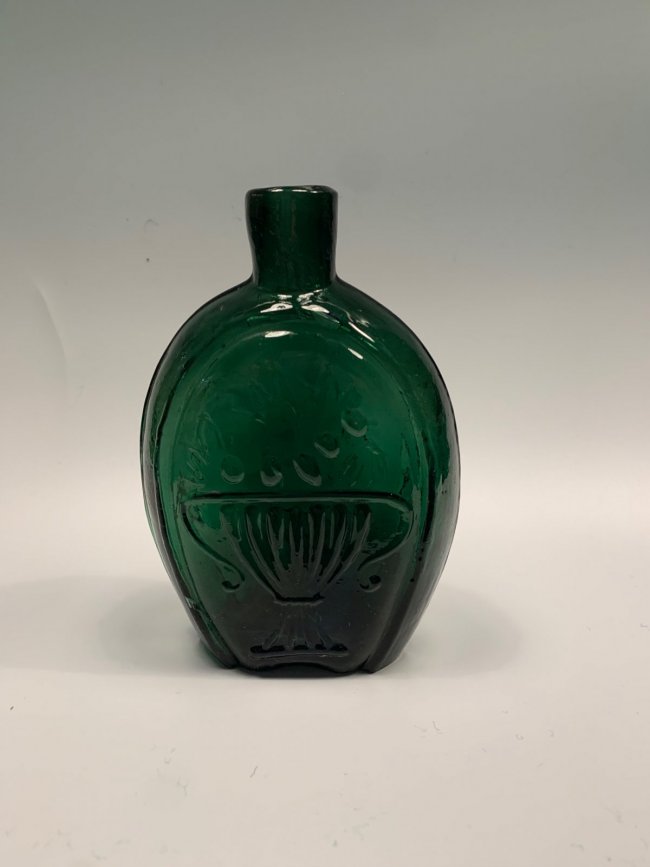
EMBOSSMENT close-up of dark or black glass requires adjustment of light source, bottle surface, and/or camera until legibility is achieved. An acute angle of bottle to light source is a starting place.
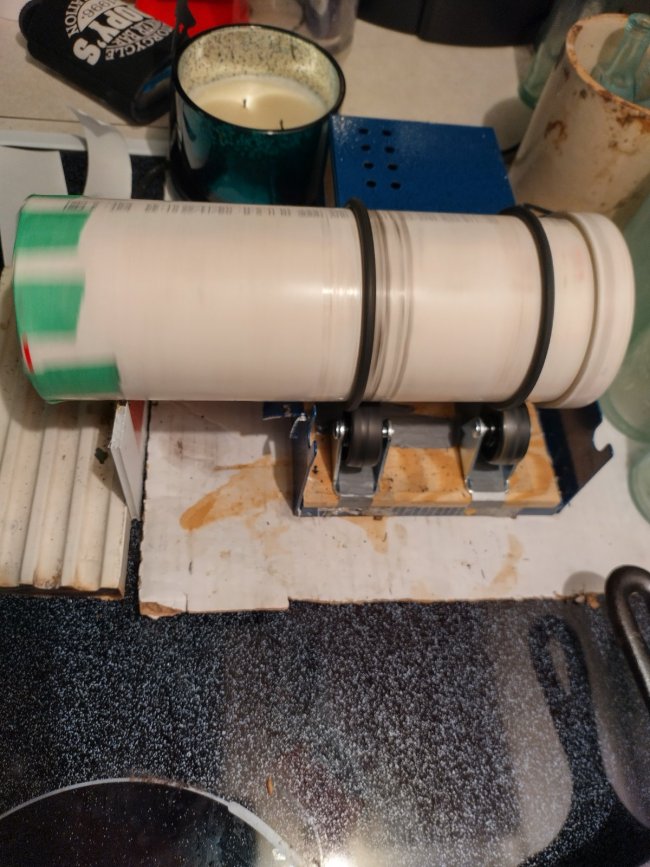
DON'T OBSCURE details of the bottle by pinching it between your fingers. If you want to use fingers to provide scale, support the bottle from below ... that is, on top of your fingers. To improve the focus, rest your hand with the bottle on a stable surface like a table or desk. But, it’s usually best to avoid cluttering the background of the image with anything extraneous.
SCALE is important in some cases. Provide measurements of your bottle in millimeters and inches for the widest audience. Don't use a coin for scale; there are many foreign subscribers who don't know your coin's size.
LIGHT IT UP. Use as much ambient light as possible to reduce shadows...two light sources are a minimum. Ambient light is usually more effective than flash which produces flares. Eliminate yellowed images caused by tungsten filament bulbs by switching to the new compact flourescent bulbs. CFLs come in a "daylight" (6500K) version that you can use in any (non-dimming) fixture and produce very little heat. Some LEDs produce a near-daylight effect.
ELIMINATE SHADOWS by elevating the bottle on a glass or colorless plastic stage a couple of inches above the background. Illuminate the bottle AND THE BACKGROUND in this configuration. There are numerous things around the house to use for this purpose, from scrap window-glass to disposable plastic food/drink containers.
BRIGHTEN AND CONTRAST. BRIGHTEN the image in the imaging software until the bottle appears slightly washed, then adjust the CONTRAST until the bottle is bright and sharp and is a good color-match. Contrast can be usefull in making embossing legible. Practice this until you get a feel for it.
CROP, CROP, CROP. Again, use the image-editing software to crop the image to only what is pertinent. Leave only a narrow margin around the bottle. The more of your kitchen counter-top in the image, the smaller the bottle image will be.
REDUCE THE FILE SIZE. You can constrain the proportions of your image to produce exactly the size that works best (I routinely use 700 Kb - 1.0 Mb for my images now). I save in JPEG format.
View attachment 242500View attachment 242510View attachment 242507View attachment 242508View attachment 242515View attachment 242516
Excellent descriptions and examples.
I, and I'm sure some others, have learned a few things about bottle photography from you here today. I only take pictures with my phone and will never be able to match yours but a lot of the basic techniques I believe are similar and I will be using some of them in the near future. Thank you. Roy
") )
)